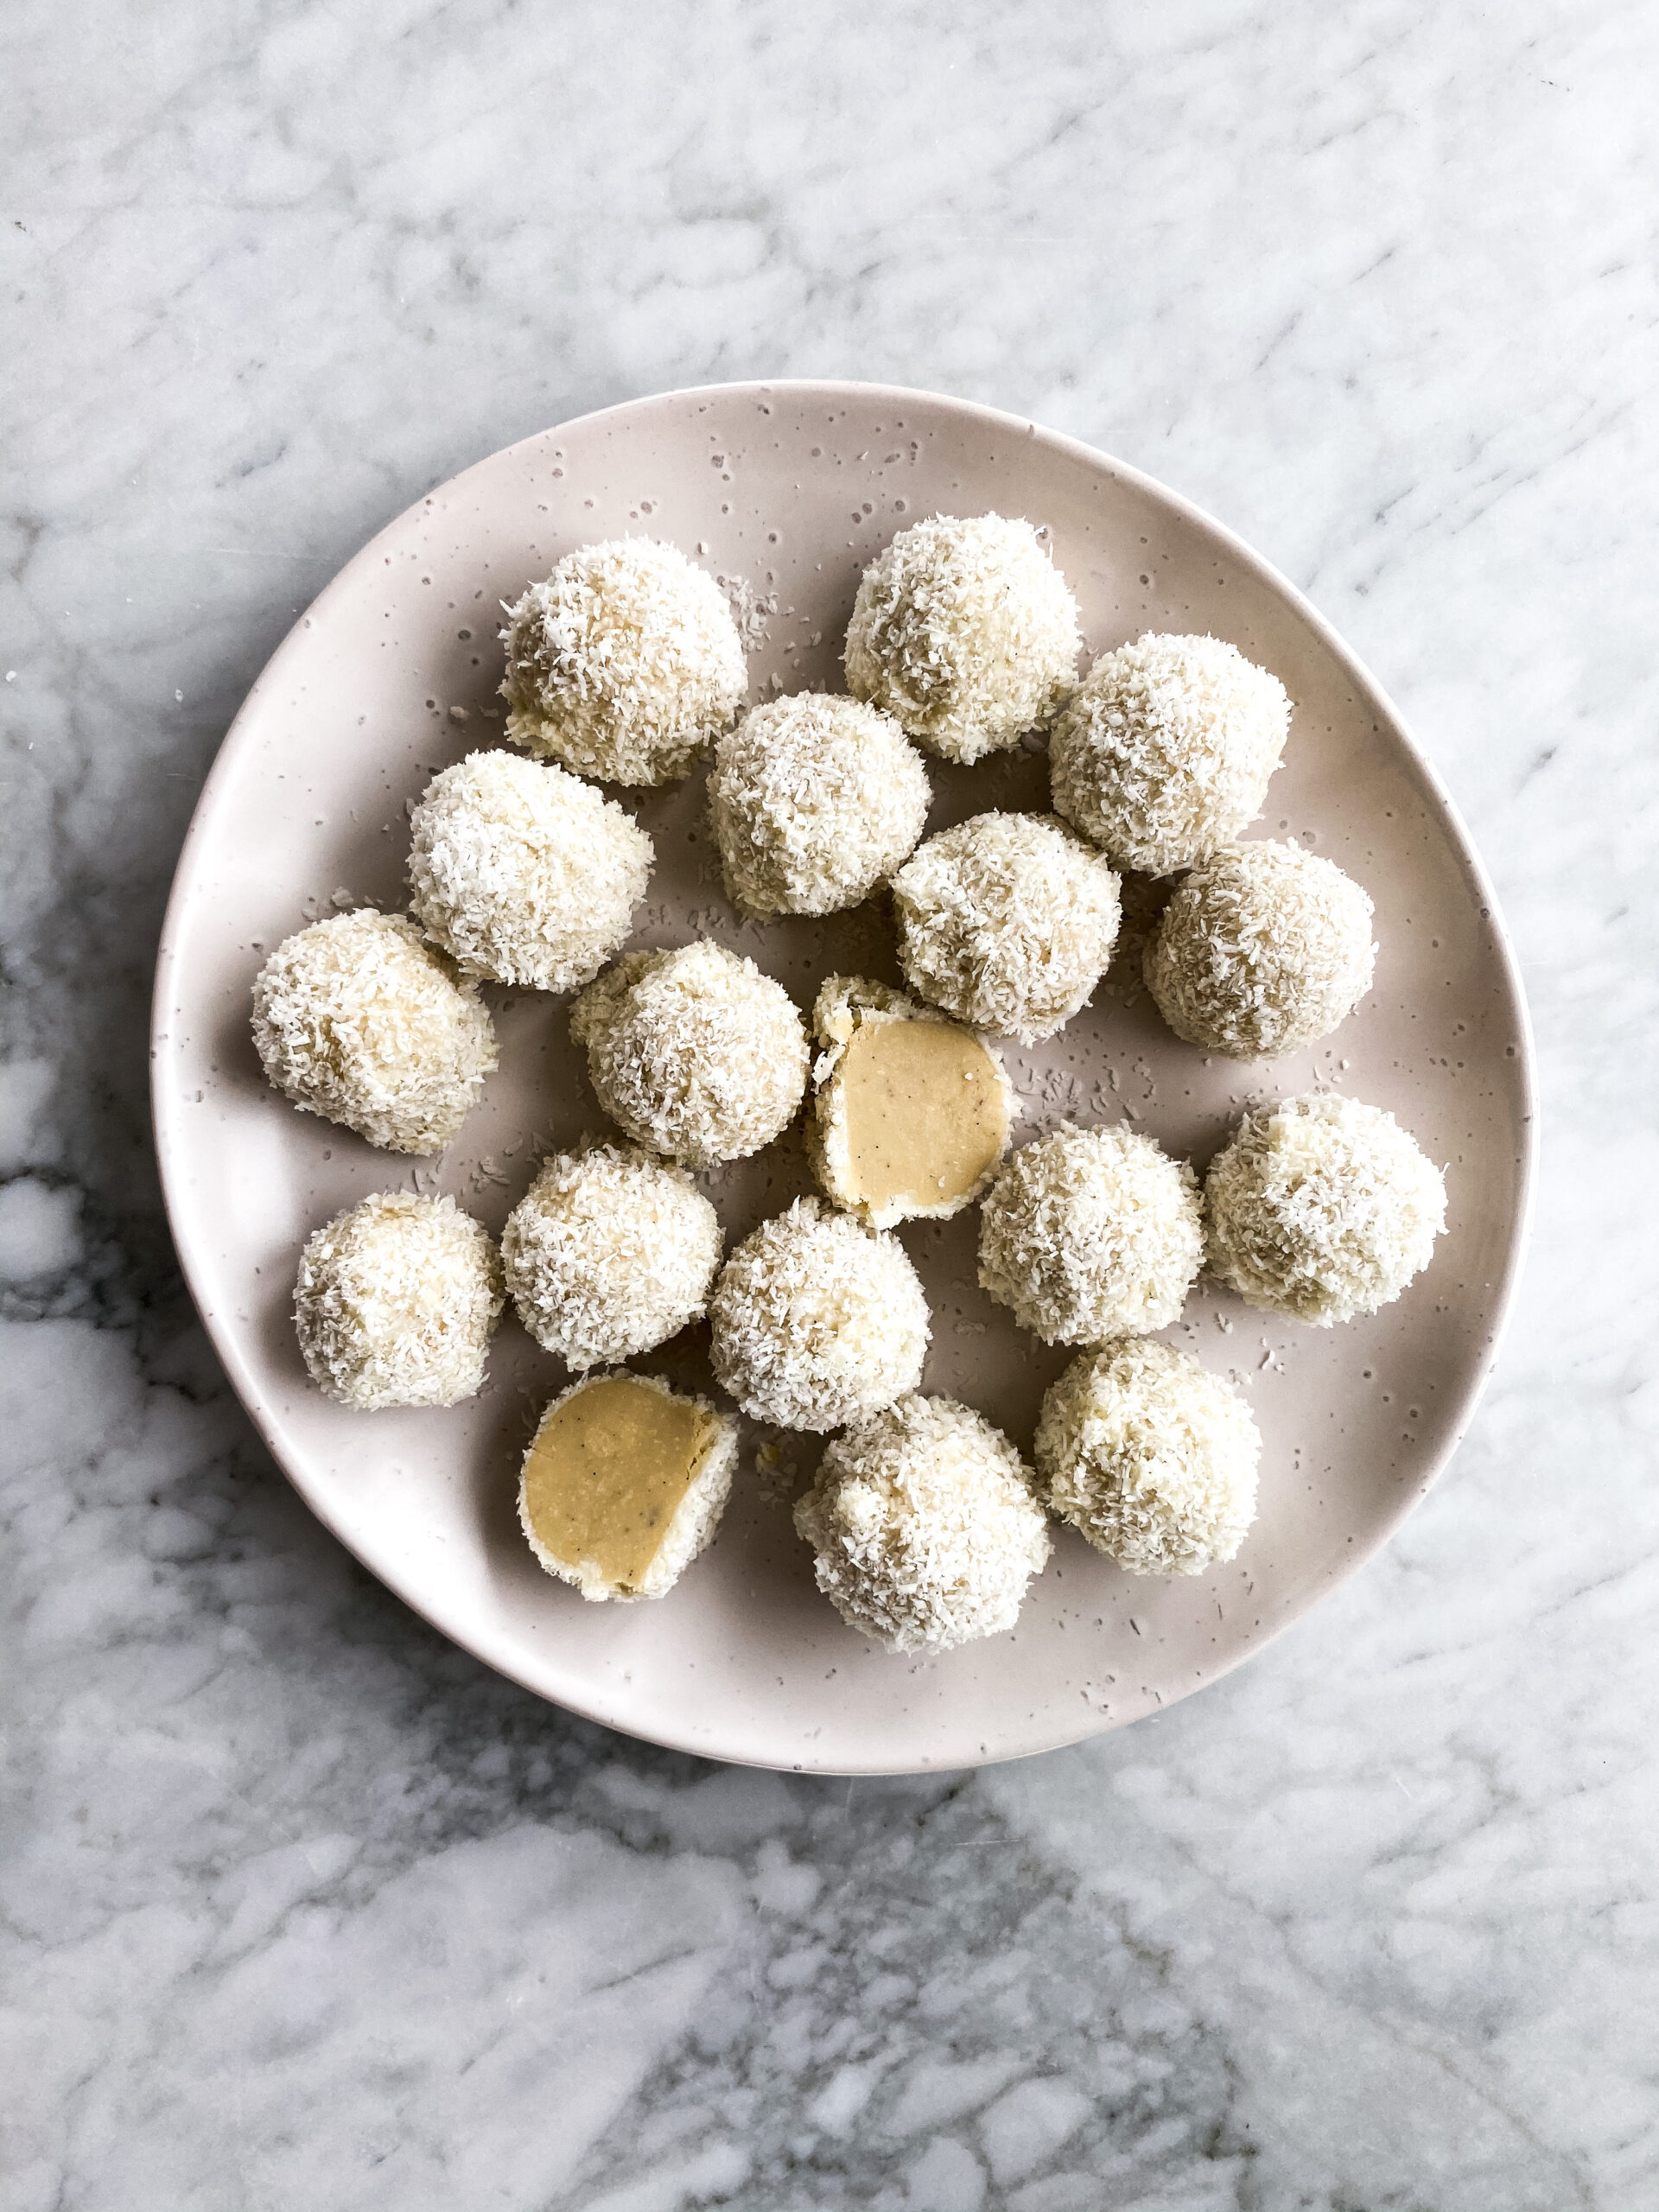
White Chocolate Snowballs
We may not have white Christmas in Australia, but this recipe makes sure you don’t miss out. These little balls of deliciousness are great as they are sugar-free and easily stored in the fridge to grab and enjoy. Whether it is for an afternoon snack or an after dinner dessert, these creamy bites are nothing short of yum.
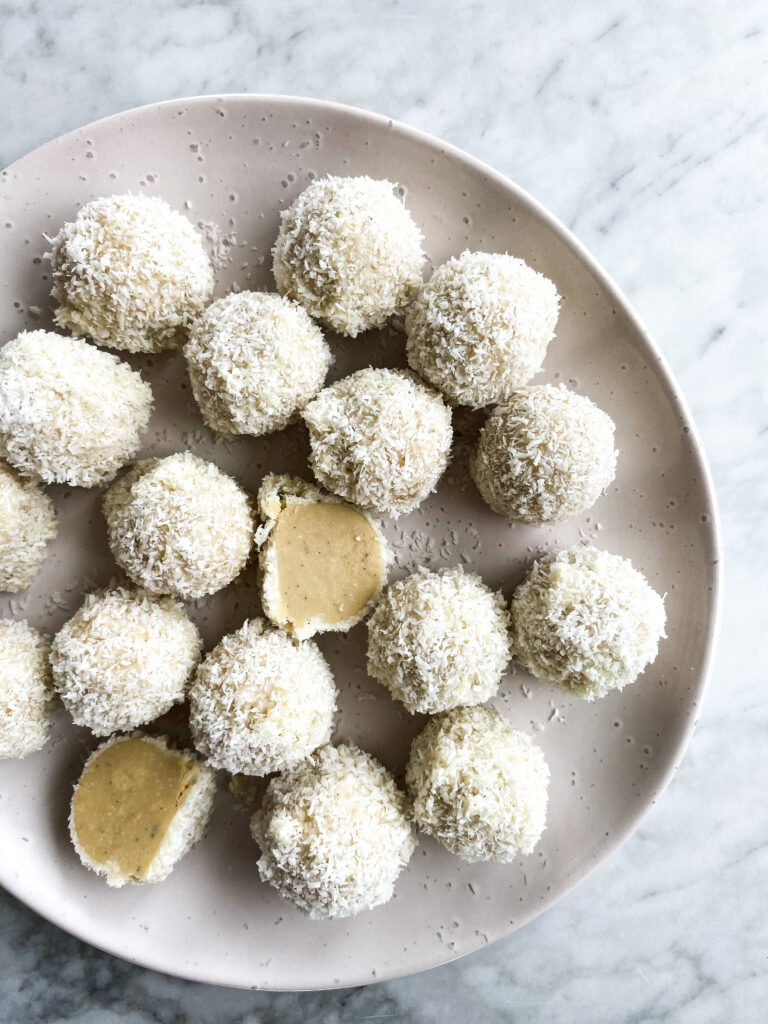
Please note that the number of balls is dependent on what size mould you use. I used a fifteen whole mould which leads the balls to be about the size of a lychee. Any silicone mould will work, however round is the best for coating in white chocolate.
These white chocolate snowballs are gluten-free, sugar-free, low-carb and keto. They remind me of a healthy version of a white chocolate Lindt ball!
If you don’t want to make the chocolate coating, to save time you can also use store-bought white chocolate. I love Well Naturally or Loving Earth white chocolate.
White Chocolate Snowballs

Soft, creamy and deliciously sweet, these white chocolate snowballs are a fun sugar-free dessert perfect for the festive season.
Serves:
15
Prep time:
2 hours
Cook time:
5 minutes
INGREDIENTS
Filling
- 2 cups cashews, raw
- 15g cacao butter, melted
- ¼ cup coconut butter, softened
- 10 drops stevia OR to taste
- ½ vanilla bean, seeds scraped or 1 tsp vanilla extract
Coating
- 40g cacao butter
- 6 tbsp coconut butter
- 8 drops liquid stevia OR to taste
- ½ vanilla bean, seeds scraped
- ½ cup desiccated coconut, for rolling
METHOD
- In a high powered blender or food processor, pulse the cashews until broken up into fine crumbs or just as oils start to become released (where it appears to be butter).
- Add in the remaining ingredients and continue to blend until smooth paste forms.
- Scoop into round silicone moulds and place in the freezer for at least 2 hours or overnight.
- Once set, prepare the coating. Place the cacao butter in a bowl and place over a pot of gently simmering water. Stir until just melted. Pour into a different bowl and stir in the coconut butter, stevia and vanilla. It should look white and creamy.
- To coat, first set up a station where you have a bowl of the prepared coating, a separate bowl of desiccated coconut and a tray lined with baking paper where the finished balls will go.
- Remove the balls from the freezer and using two spoons (and perhaps your fingers) coat the balls in the coating then roll in the coconut and place on the prepared tray. To prevent melting, do this in batches and place in the fridge.
- Optional: If you’d like a thicker coating, you can do an extra layer of coating before you roll in coconut, just make sure to let the first layer set in the fridge or freezer first.
- Once set, serve cooled and enjoy!
NOTES
- Once you have added all filling ingredients to the blender, and blended if the mixture is still not coming to a thick paste (is still dry and grainy), add one tablespoon of melted coconut oil. Blend until a thick nut butter-like consistency forms.
- No stevia? Instead use 1-2 tablespoons of maple syrup or honey in the filling, and in one tablespoon in the coating.
- You can also use store-bought white chocolate as the coating. I love Well Naturally or Loving Earth White Chocolate.
You Might Also Like

START TODAY
Cook Like A Nutritionist
Get instant access and see just how delicious and easy eating well can be.