Salted Caramel Slice
A caramel slice is the ultimate decadence to me, and this recipe is no exception. It’s a major bonus that there is less than a teaspoon of sugar per serve!
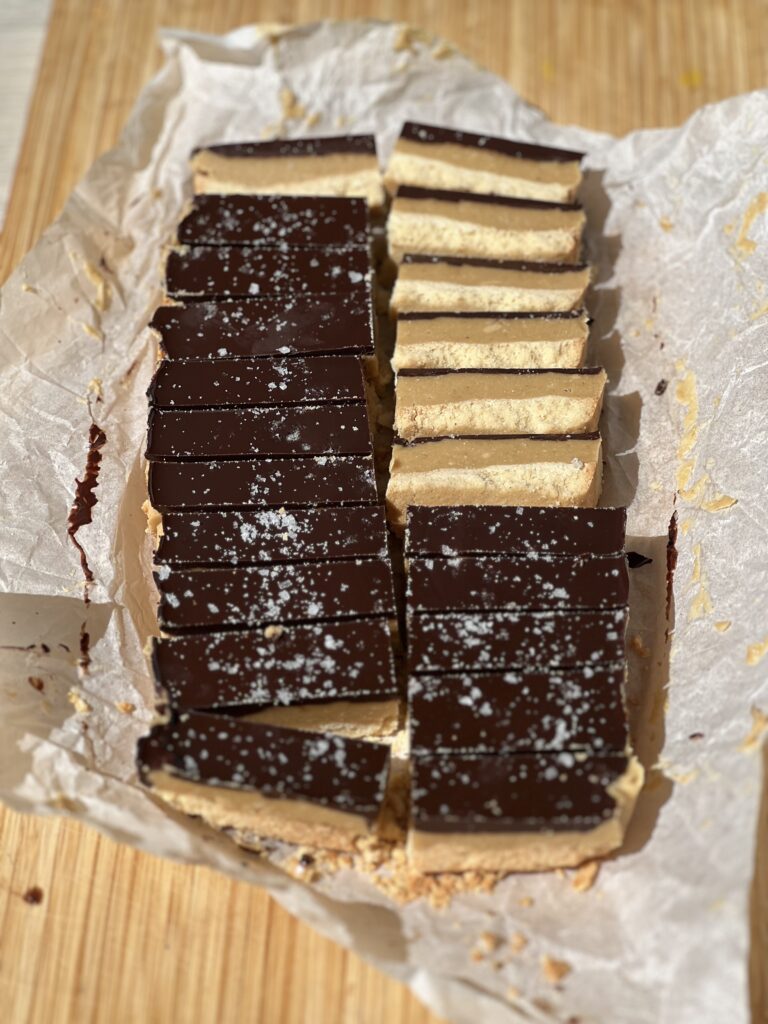
The combination of almond meal and coconut flour creates a nutty, satisfying base, while the creamy layer of cashew butter and ghee provides a luscious, caramel-like texture. Top it off with a layer of dark chocolate, and you have a treat that’s perfect for any occasion.
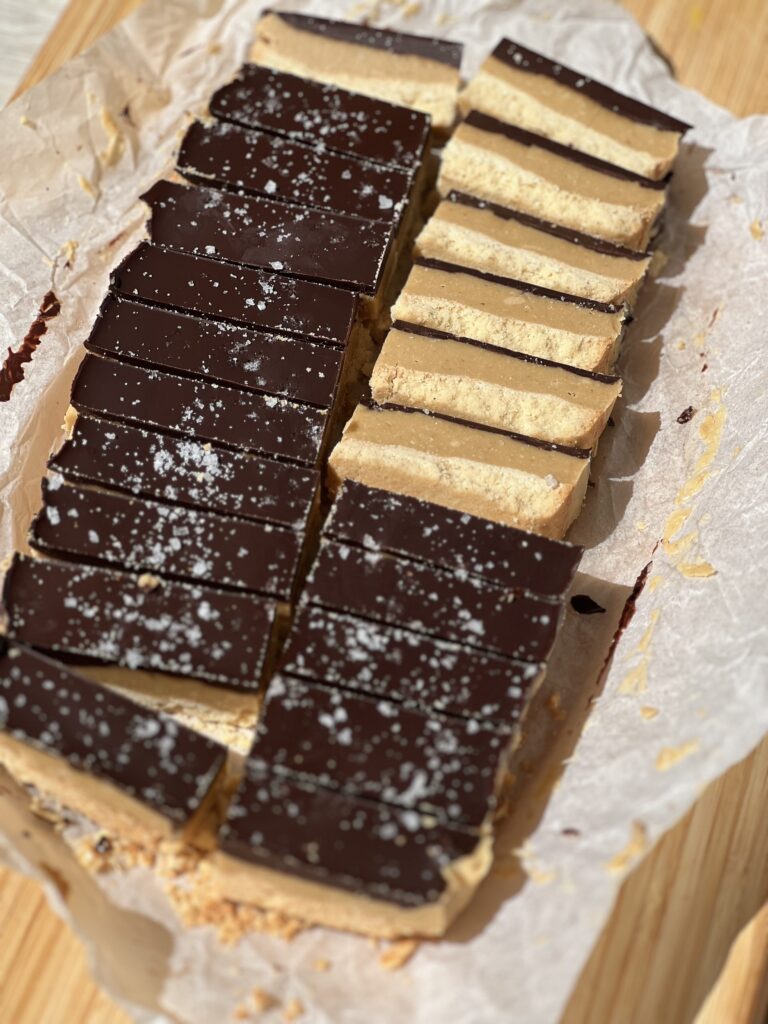
Salted Caramel Slice
Indulge in a decadent, guilt-free treat that combines the rich flavours of salted caramel and dark chocolate in a perfectly balanced, low-sugar slice that's sure to satisfy your sweet tooth!
Serves:
20
Prep time:
15 minutes
Cook time:
12 minutes
INGREDIENTS
BASE LAYER
- 1 cup blanched almond meal
- ½ cup coconut flour
- ⅛ tsp fine sea salt
- 1 tbsp maple syrup
- 3 tbsp ghee, melted
CREAMY LAYER
- 1 cup cashew butter
- ¼ cup ghee, melted
- 3-4 tbsp maple syrup
CHOCOLATE TOPPING
- 120g dark chocolate (85-90%)
- 2 tbsp coconut oil
- 1 tsp flakey sea salt
METHOD
- Prepare the Base: Preheat your oven to 180°C (350°F). In a mixing bowl, combine the almond meal, coconut flour, and salt. Stir well to distribute the ingredients evenly. Add the maple syrup and melted ghee to the dry ingredients. Mix everything together until it forms a dough-like consistency.
- Line a 22x22cm (9x9 inch) baking dish with parchment paper. Press the mixture firmly and evenly into the prepared dish, ensuring that the base is compact and level. Bake in the preheated oven for 12 minutes, or until the edges are golden brown. Remove the base from the oven and set it aside to cool completely.
- Make the Creamy Layer: While the base is cooling, prepare the creamy layer. In a clean mixing bowl, combine the cashew butter, melted ghee, and maple syrup. Stir until the mixture is smooth and fully incorporated. Once the base has cooled, pour the cashew butter mixture over it. Use a spatula to spread the mixture evenly across the surface of the base. Place the dish in the refrigerator for about 60 minutes to allow the creamy layer to firm up.
- Prepare the Chocolate Topping: Break the dark chocolate into small pieces and place it in a heatproof bowl with the coconut oil. Melt the chocolate and coconut oil together using a double boiler, or microwave in 30-second intervals, stirring in between, until the mixture is smooth and glossy.
- Pour the melted chocolate mixture over the set creamy layer. Gently tilt the dish or use a spatula to spread the chocolate evenly across the top. Add flakey sea salt.
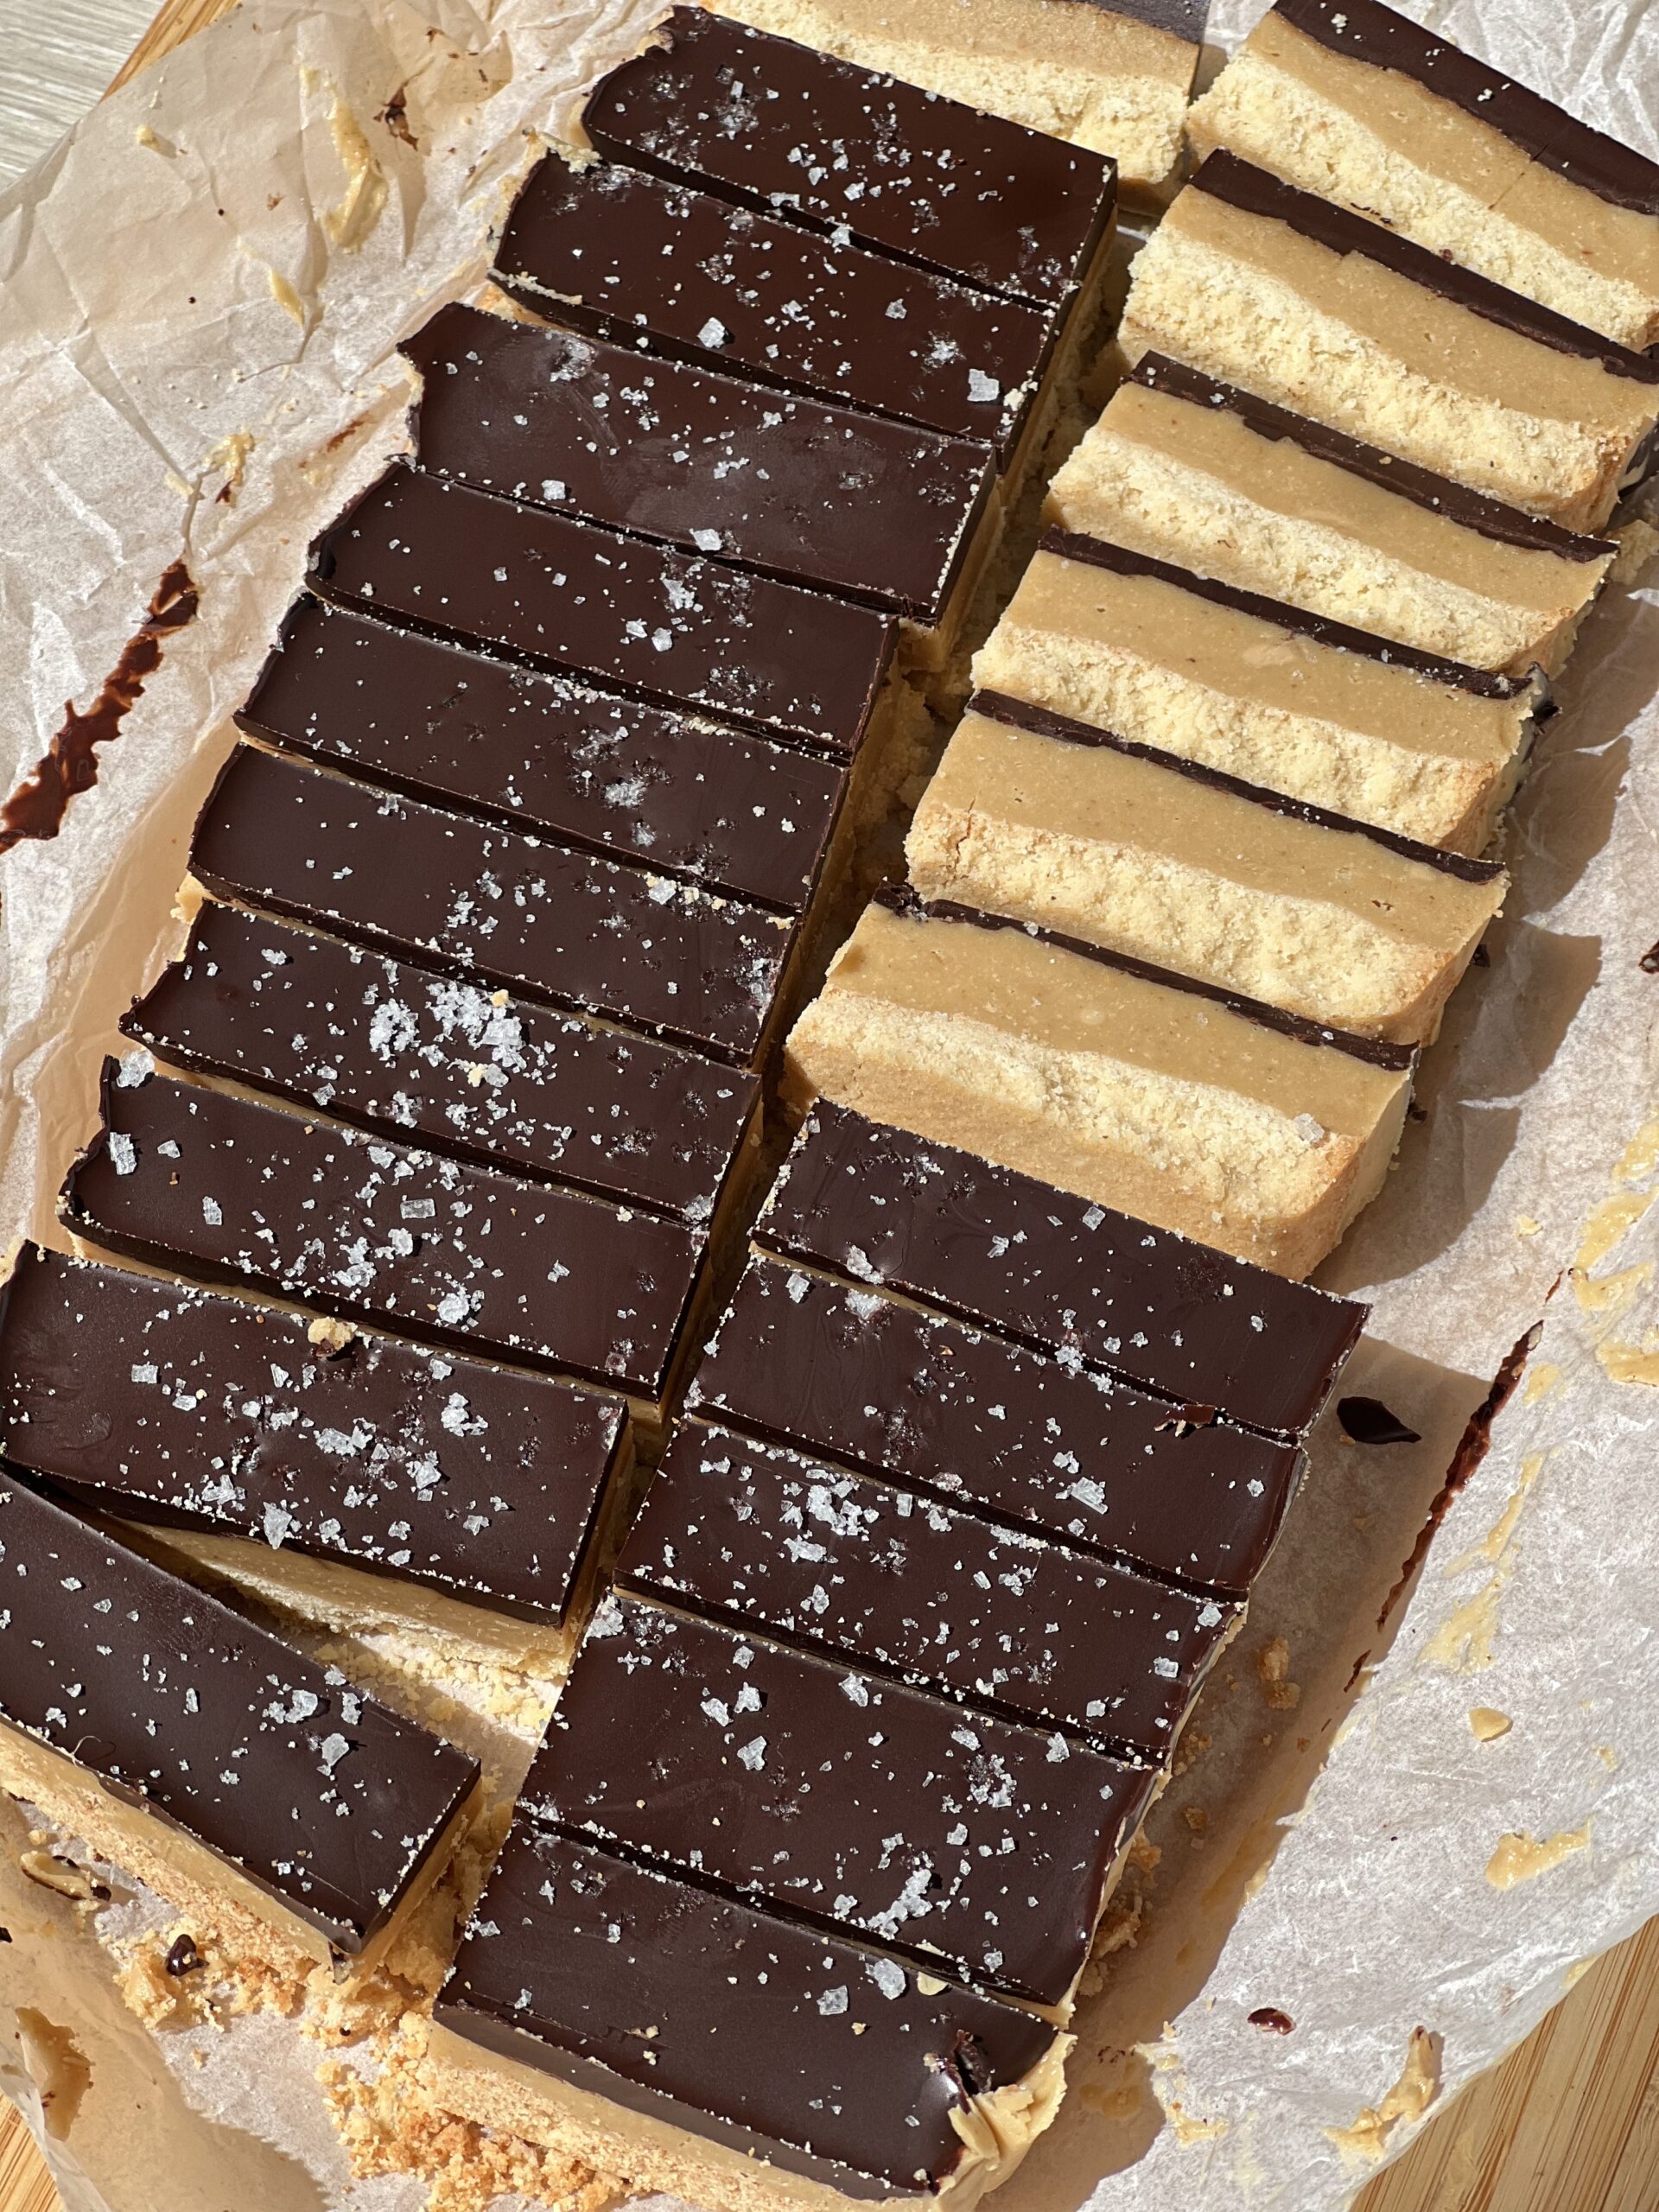
- Set and Serve: Return the dish to the refrigerator and allow it to chill for at least 1 hour, or until the chocolate has fully set. Once the slice has set, remove it from the dish by lifting it out with the parchment paper. Use a sharp knife to cut it into 12 equal pieces. Store the slices in an airtight container in the refrigerator until ready to serve. Enjoy!
Notes
- I keep the sugar minimal, adding only three tablespoons of maple syrup to the filling—a sweetness level that's perfect for me. When making this for a crowd more accustomed to sweeter treats, I'll occasionally increase it to four tablespoons (a quarter cup). Even then, it's still very low in sugar. Considering this recipe serves 20, it's less than a teaspoon of sugar per serving.
- I used a Mud baking dish measuring 17cm x 28cm. This gives the slice a loaf-like shape, rather than the square shape mentioned in the recipe. Since this is a non-standard loaf tin size, I've provided an equivalent square baking dish in the recipe that will yield similar results.
- For the best results, use a well-incorporated cashew butter. Avoid types that have separated into oil and a hard, dry base that you can't mix easily. Give your cashew butter a good stir to ensure it's smooth before using it in the creamy layer.
You Might Also Like

START TODAY
Cook Like A Nutritionist
Get instant access and see just how delicious and easy eating well can be.